
今回はFlutterプロジェクト用にFirebaseのプロジェクトを作成し、iOS/Androidの設定を行う手順を紹介します。
Firebaseプロジェクトの作成
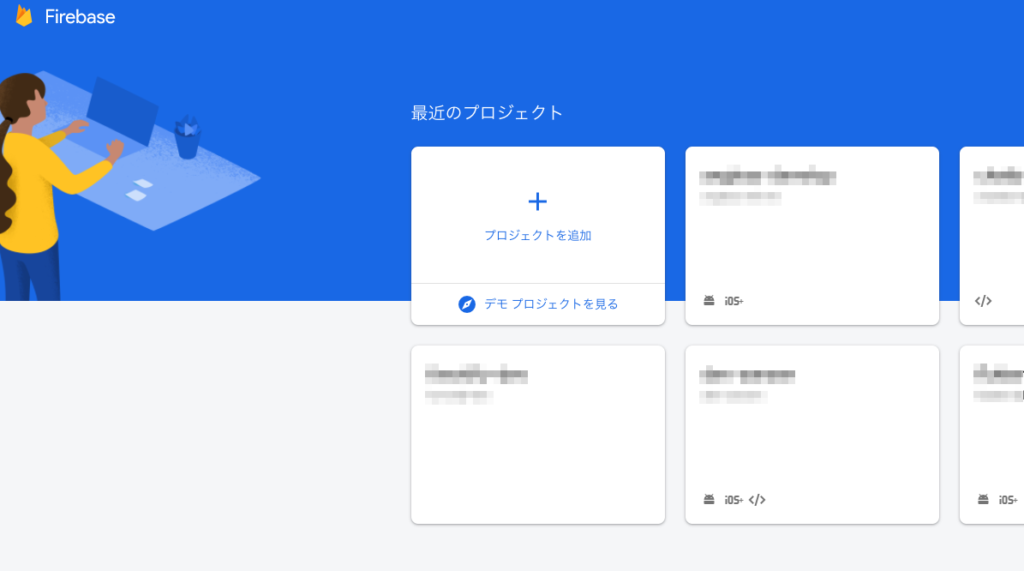
- Firebase consoleを開きます

Sign in - Google Accounts
console.firebase.google.com
- プロジェクトを追加をクリックします。
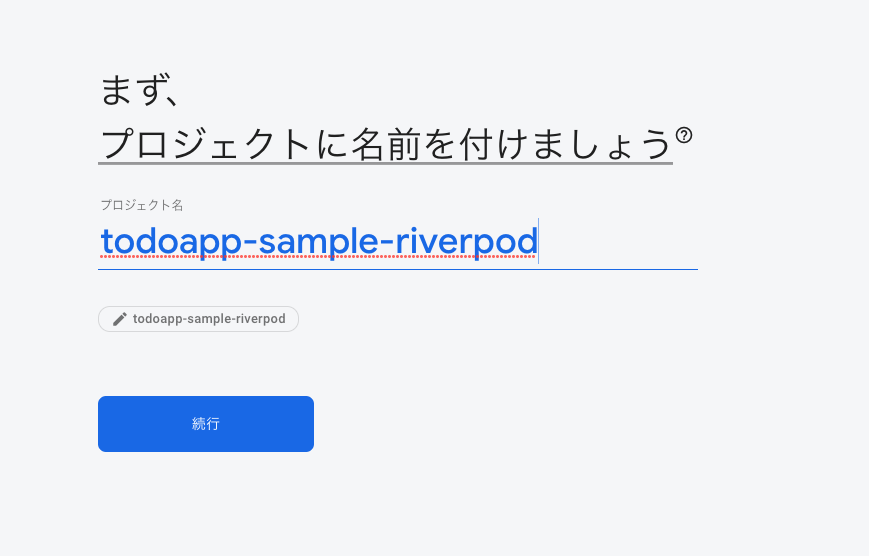
- プロジェクトの名前を入力します。私はtodoapp-sample-riverpodとしました。
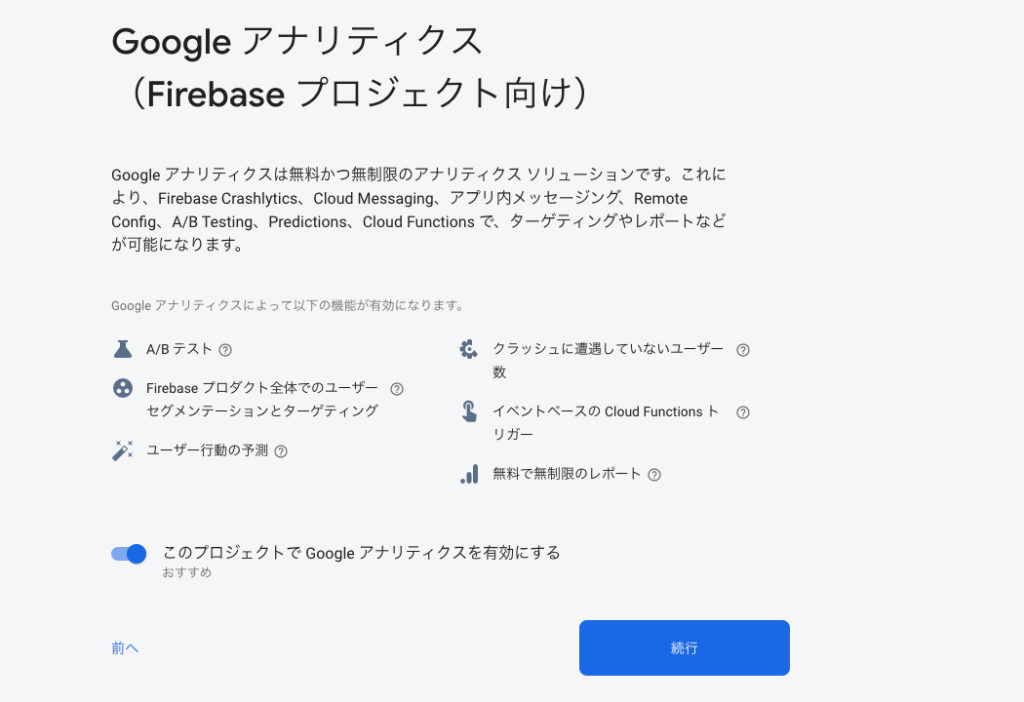
- Google Analyticsを使用するかどうか聞かれるので、お好きに設定頂いて、続行をクリックします。私は有効にしました。
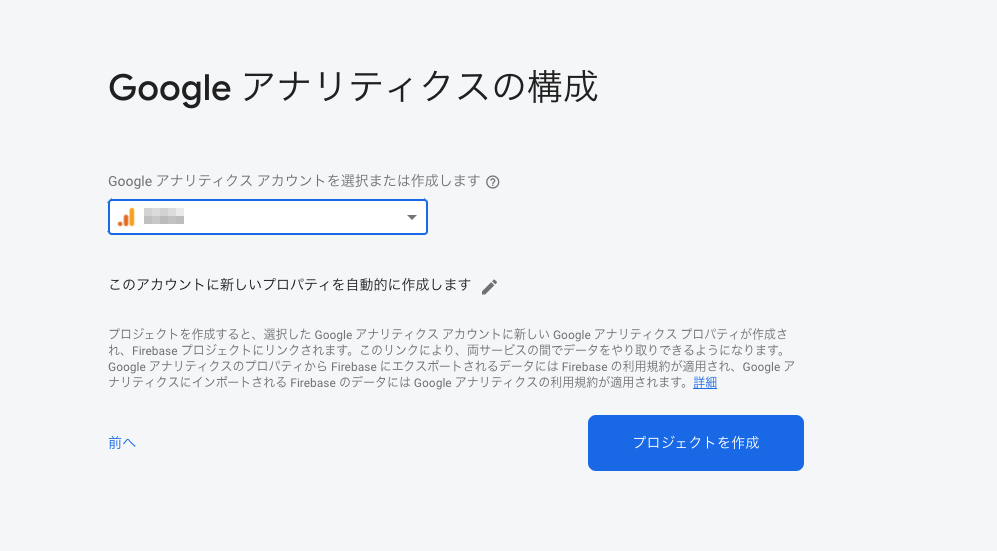
- Google Analyticsを有効にした場合は、アカウントを聞かれるので選択し、「プロジェクトを作成」をクリックします。
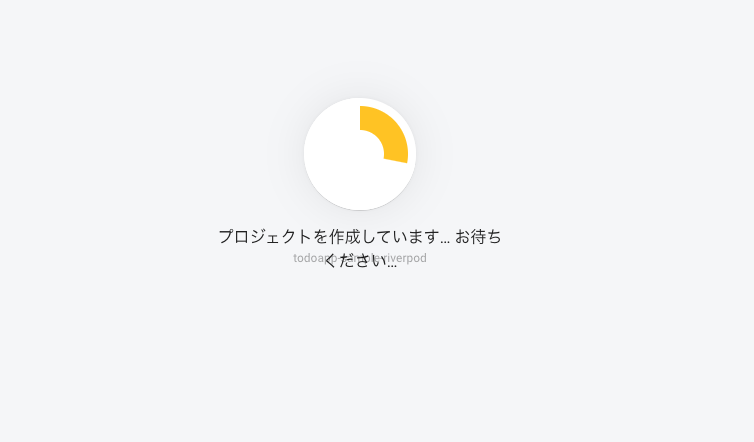
- プロジェクトが作成されます。このまましばらく待ちます。
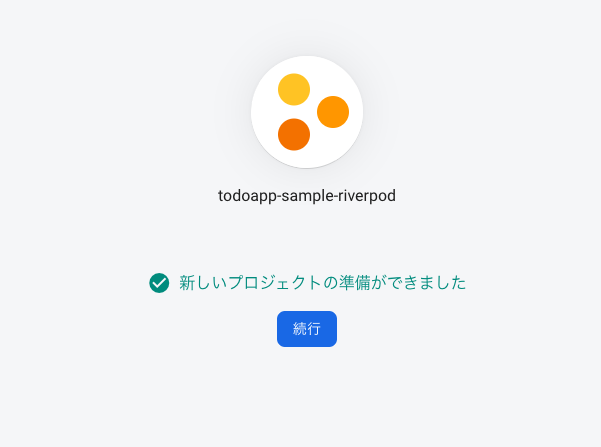
- 「新しいプロジェクトの準備ができました」と表示されたらプロジェクトの作成が完了です。「続行」をクリックして設定を続けます。
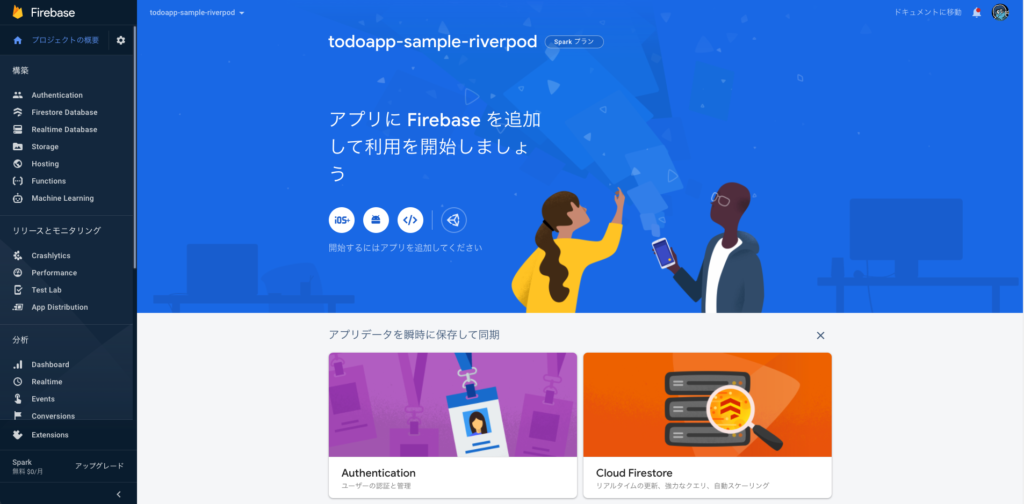
- アプリを追加する前に、Firebaseを使う際に必ず行う必要がある設定を先に行っておきます。こちらのコンソール画面から、左メニューにある「Firestore Database」をクリックします。
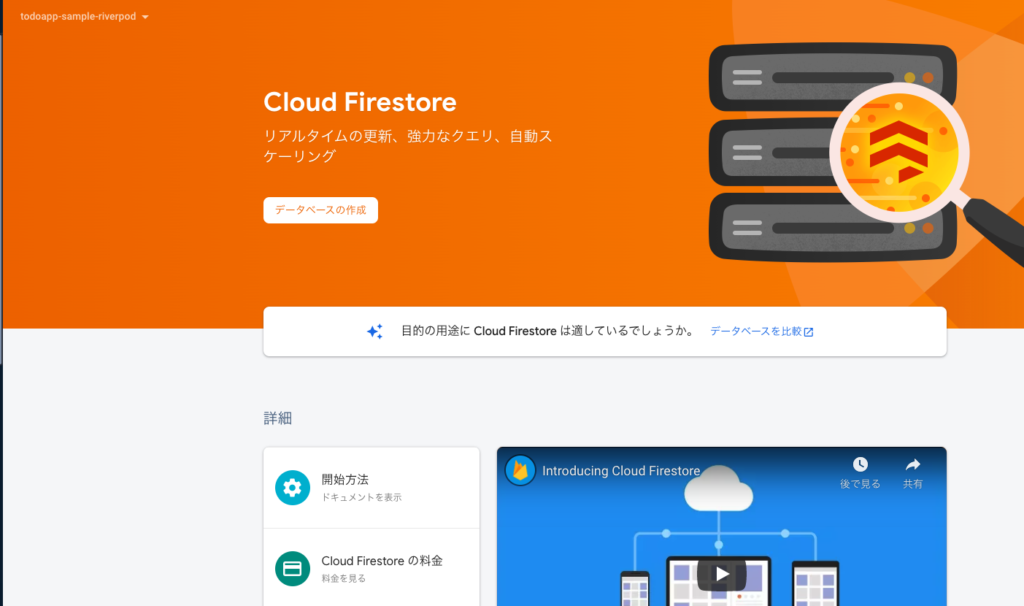
- データベースの作成をクリックします。
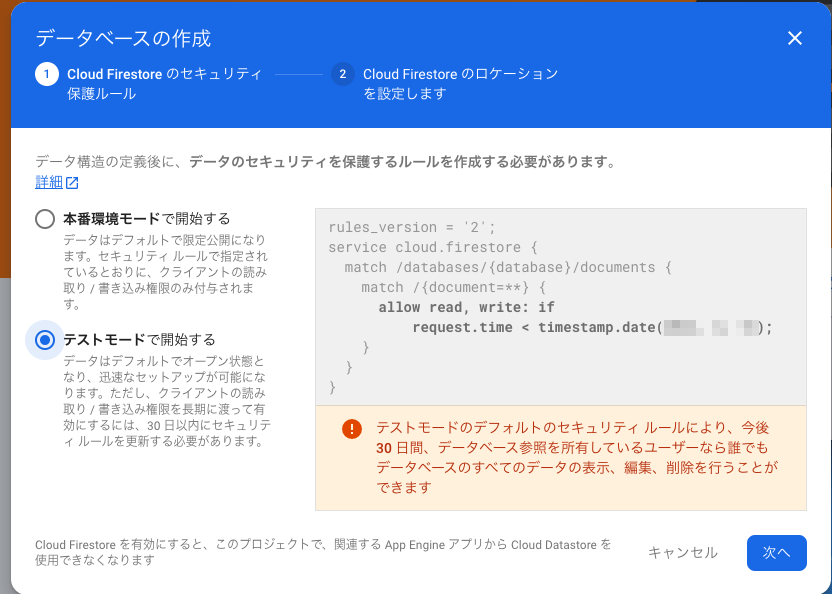
- 本番環境用に、はじめからセキュリティルールを記載しながら開発をすすめる方以外は、「テストモードで開始する」にチェックを入れて「次へ」をクリックします。
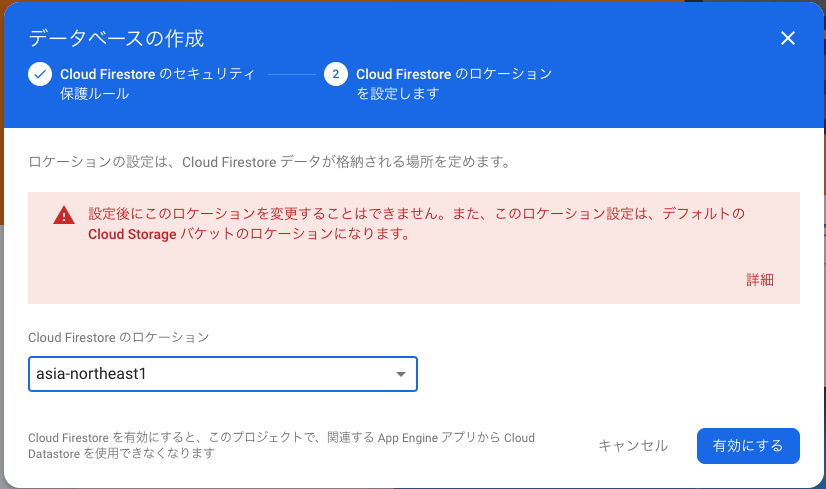
- Cloud Firestoreのロケーションを選択します。お好きな場所を選べば良いですが、日本であれば「asia-northeast1」を選んでおけば良いかと思います。
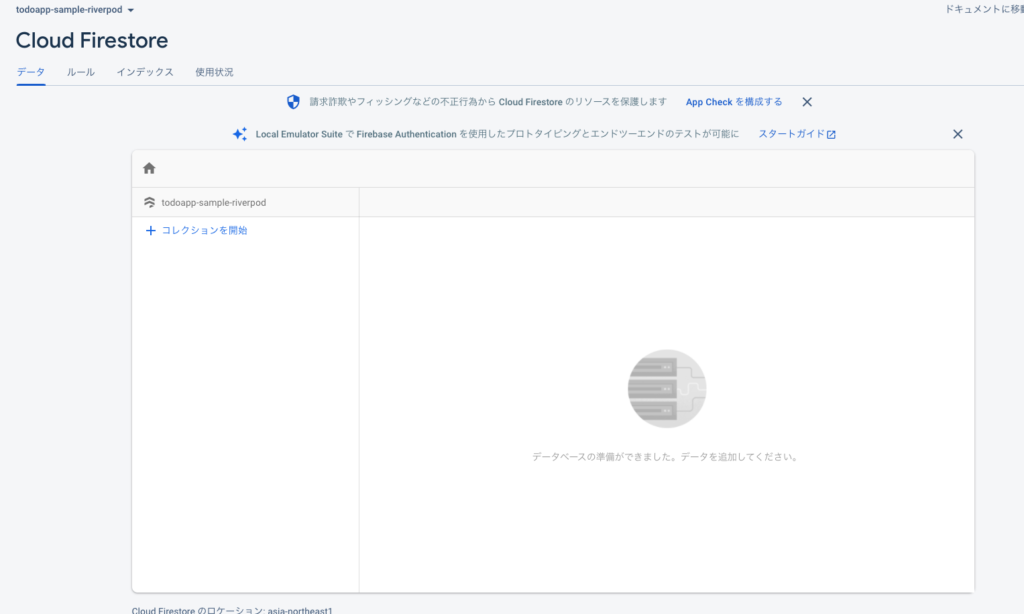
- Cloud Firestoreの画面が表示されたら設定完了ですので、コンソールに戻ります。
iOSアプリの追加
- 次にiOSアプリを追加します。コンソールのホーム画面の上部にある「開始するにはアプリを追加してください」の上の「iOS+」アイコンをクリックします。

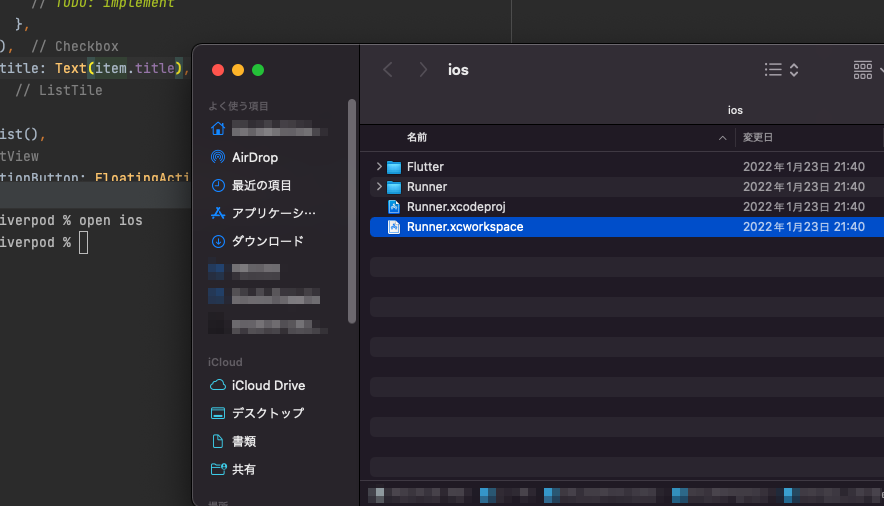
- ここでAndroid Studioのターミナルで
open iosと打ってiosフォルダを開いたあと、「Runner.xcworkspace」の方をクリックします。(xcodeprojの方ではないです。)
- XCodeが開くまで待ち、開いたら左メニューでRunnerを選択し、真ん中でGeneralタブを開くと「Bundle Identifier」が表示されるのでこれをコピーします。
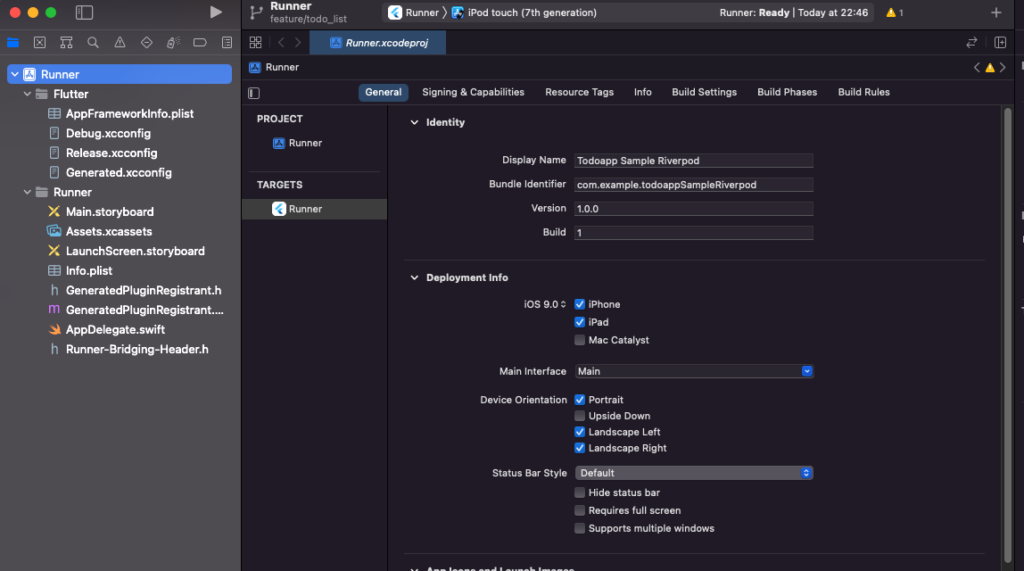
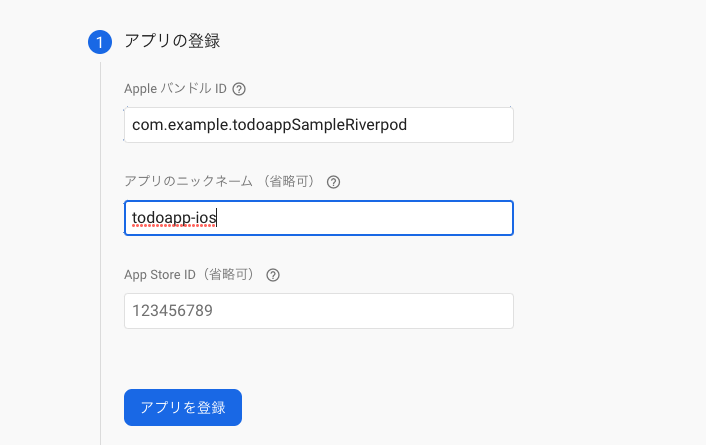
- Firebaseのコンソールに戻り、アプリの登録画面でAppleバンドルIDに今コピーしたBundle Identifierを貼り付けます。アプリのニックネームはわかりやすいように適宜つけておきます。
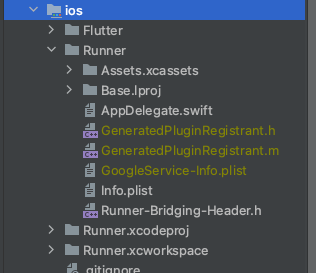
- 設定ファイルのダウンロード画面で、「GoogleService-Info.plist」をダウンロードします。
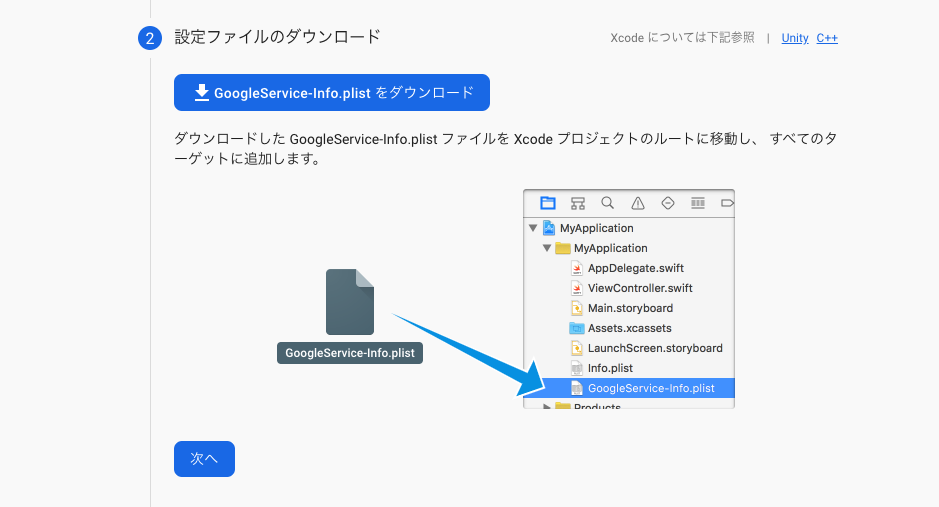
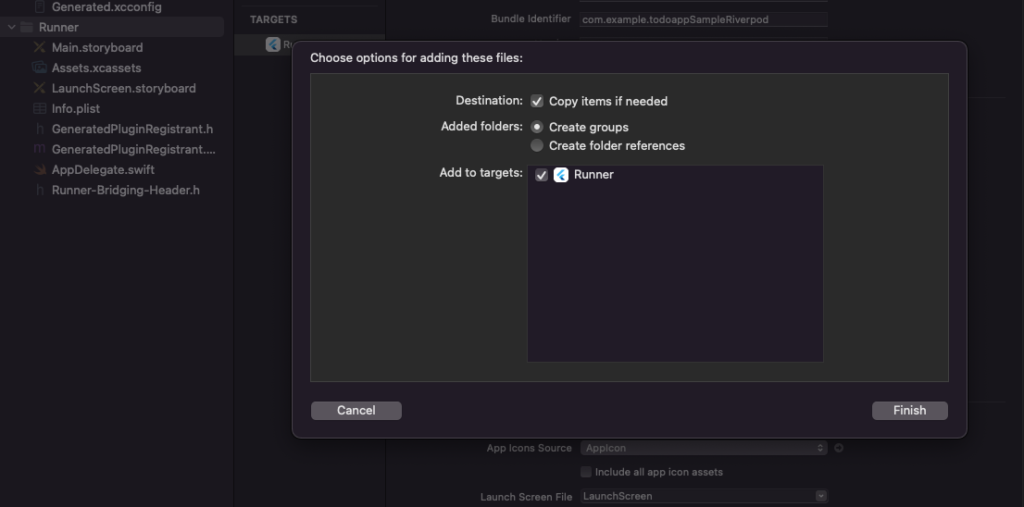
- ダウンロードしたらXCodeの左メニューのRunnerめがけてドラッグアンドドロップします。すると以下のような画面が表示されるので、「Copy items if neede」、「Create groups」にチェックが入っていることを確かめて、右下の「Finish」をクリックします。
- Android Studio側から見て、ios/Runner/GoogleService-Info.plistが存在することを確認します。このとき、git管理下になっていればgitignoreに追加しておきます。
ここで一度ビルドしてみます。
最低限pubspec.ymlにfirebase_coreを追加してpub getします。
ターミナルで
flutter pub add firebase_coreと打てば追加されます。
以上でiOSでビルドし、通ればiOSは完了です。
Androidアプリの追加
- 次にAndroidアプリを追加します。先程と同様に今度はAndroidのアイコンをクリックします。

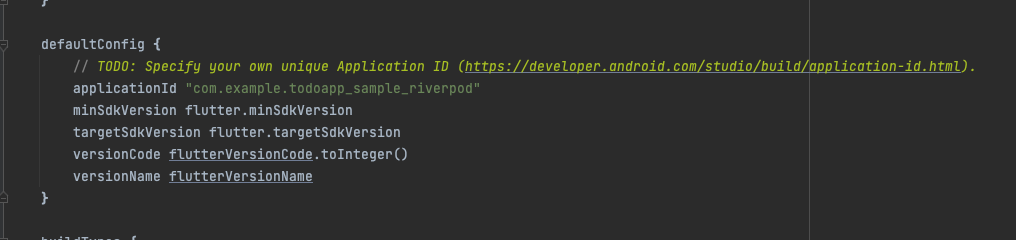
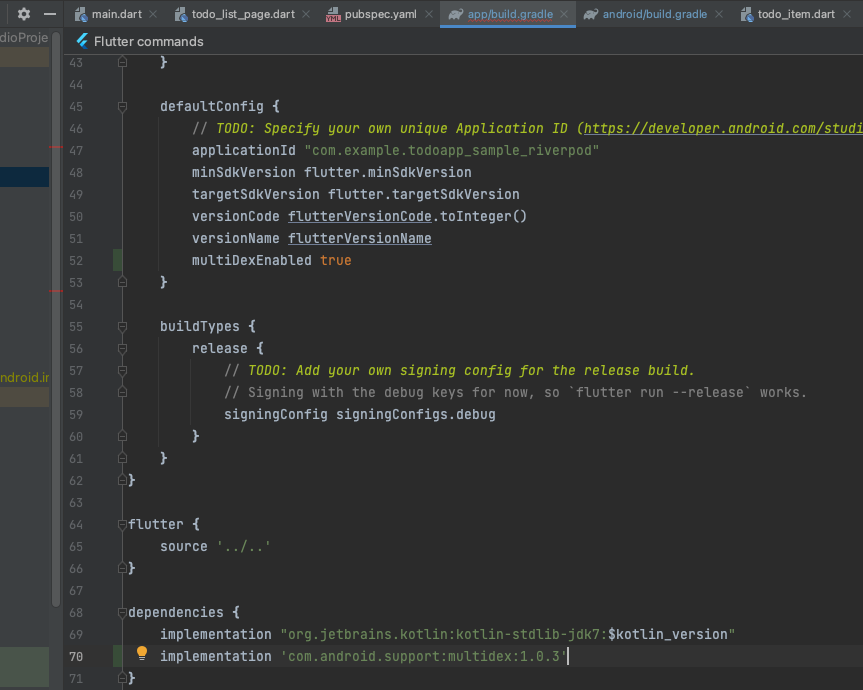
- Android Studioに戻り、android/app/build.gradleのdefaultConfig内にあるapplicationIdの中身をコピーします。
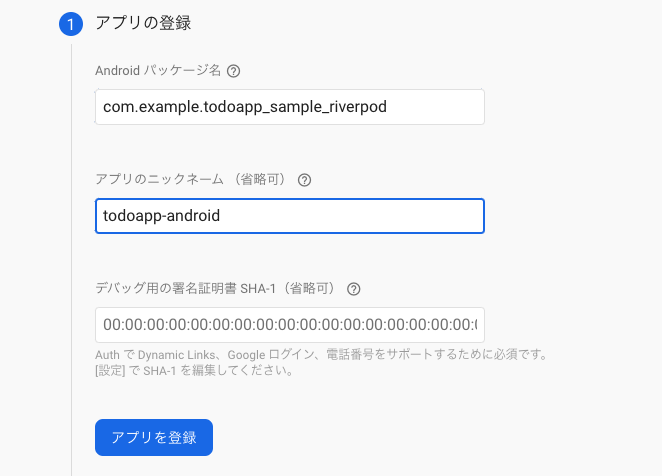
- Firebaseの画面に戻り、先程コピーしたapplicationIdをAndroidパッケージ名に貼り付け、適宜ニックネームをつけて「アプリを登録」をクリックします。
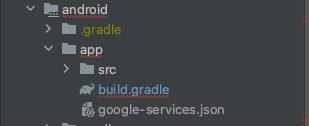
- google-services.jsonをダウンロードし、android/app/google-services.jsonとなるように配置します。
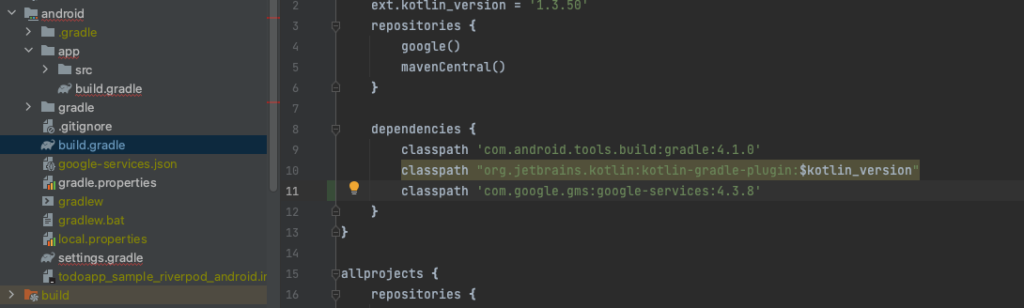
- android/build.gradleを開き、dependenciesにclasspath ‘com.google.gms:google-services:4.3.8’を追加します。
- 今度はandroid/app/build.gradleを開きapplyが3つ並んでいる行の下に、apply plugin: ‘com.google.gms.google-services’ を追加します。

- また、android/app/build.gradleのdefaultConfigの一番下にmultiDexEnabled trueを追加し、dependenciesにimplementation ‘com.android.support:multidex:1.0.3’を追加します。
以上でAndroidの方でビルドできれば完了です。
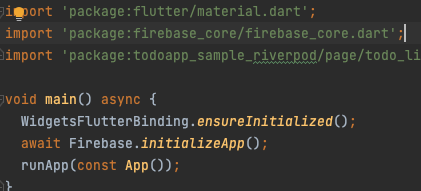
- 最後にfirebaseを入れた場合は必ず以下のようにmain.dartを書き換える必要があるので、書き換えておきましょう。
void main() async {
  WidgetsFlutterBinding.ensureInitialized();
  await Firebase.initializeApp();
  runApp(MyApp());
}
参考
最新の情報はFlutterFireの公式ページを参照しましょう。

FlutterFire | FlutterFire
The official Firebase plugins for Flutter
firebase.flutter.dev

コメント